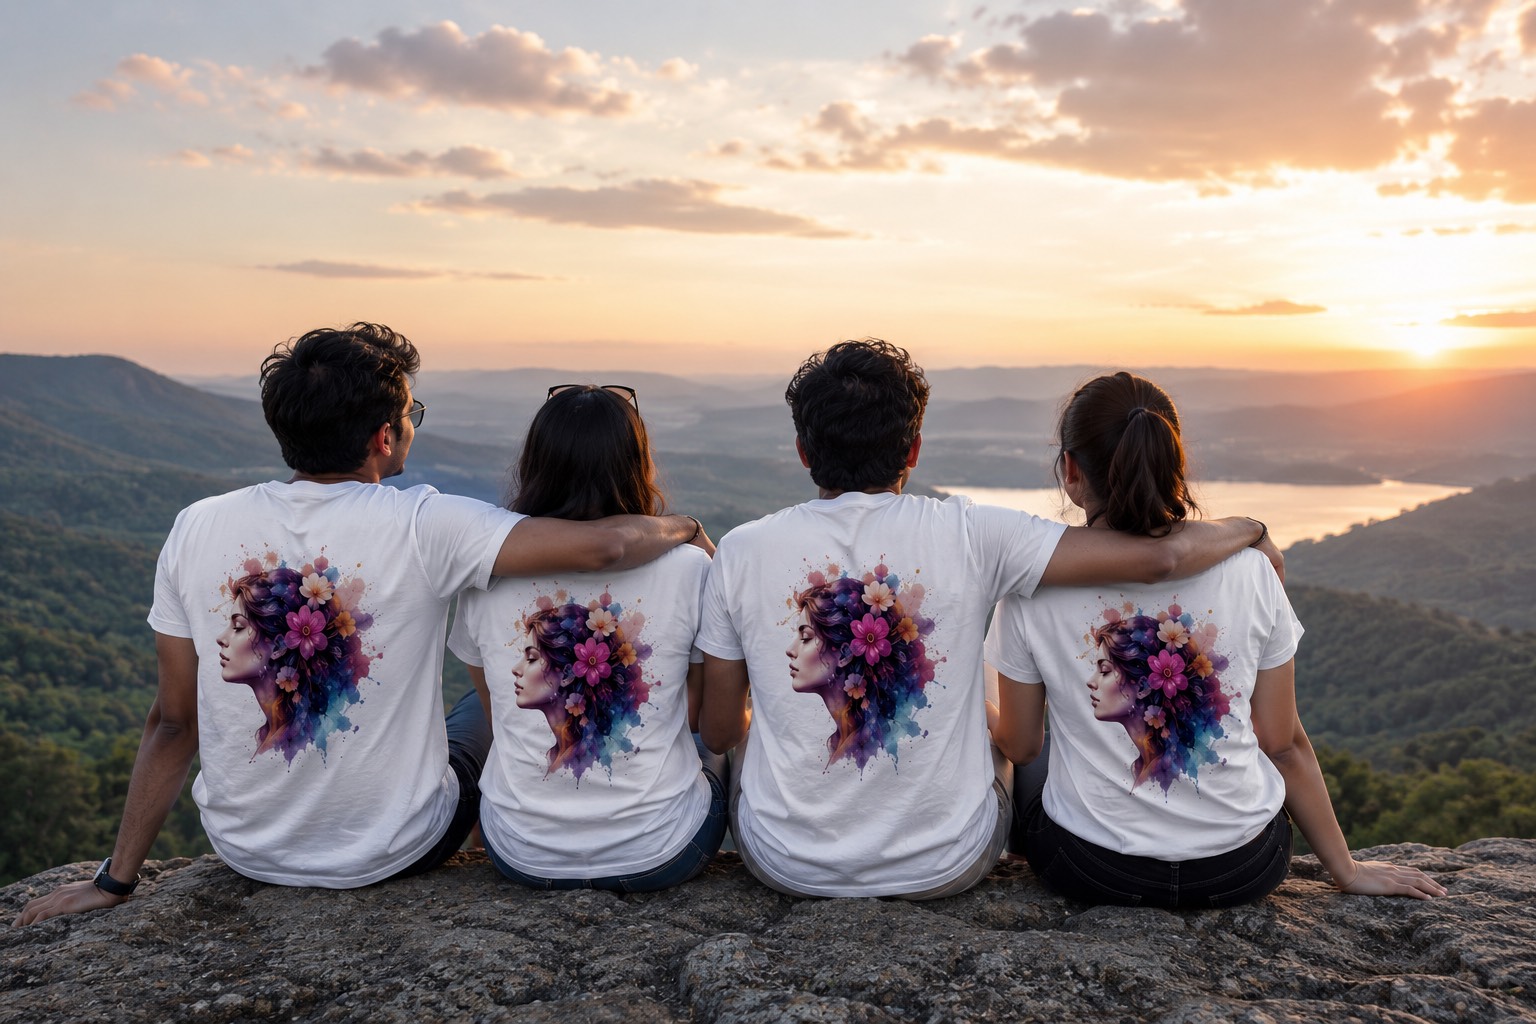
Jack of All Threads:Sell the Shirt Before It Is Printed
India's first crowdfunding platform for custom apparel, built in Bangalore. You design a tee in the browser, set a sales goal, and sell it before anything gets printed.
The Challenge
If you wanted to make and sell custom tees, you had to put the whole thing together yourself. One tool to design it, another to mock it up, a printer who would only take large orders, some way of collecting payments, and then you arranged the shipping. Every one of those handoffs cost money and could go wrong, and all of it happened before you had sold a single shirt.
Our Solution
One platform that handles all of it: the design, the pricing, the payments, the printing, the shipping and the payout. The creator designs the tee and promotes it, and we do everything after that. Nobody pays anything up front, and nothing gets printed until the campaign has hit its goal.
01Project Overview
Jack of All Threads started as a college project and became India's first t-shirt crowdfunding platform. The Hindu, Deccan Herald, DNA and YourStory all covered it, and causes like CRY and the Akshaya Patra Foundation ran campaigns on it. I owned the interface end to end and rebuilt the product as one platform rather than a set of separate tools.
The main job of the redesign was to take something that used to span six different tools and vendors and turn it into one flow that somebody could get through in an afternoon.
Who it was for
- Campaign raisers. Students, college clubs, bands, artists and small brands. They design a tee and run a campaign to sell it, without paying anything up front or holding any stock.
- Cause and NGO raisers. Non-profits like CRY and the Akshaya Patra Foundation, using merch campaigns to raise money and get attention.
- Buyers and backers. People who arrive from a shared link or a Facebook ad and order the tee. Their orders are what funds the print run.
02Selling Custom Merch Meant Juggling a Stack of Tools
Three things made the old way expensive before anyone had sold anything:
The redesign bet
- If one platform owns the whole journey, the design, the pricing, the payments, the printing, the shipping and the payout, then a creator can launch without paying anything and without having to manage any of it.
03How a Campaign Works
I put the whole model on the homepage, so somebody landing for the first time understands how it works before they sign up for anything.
What each step does
- Design in minutes. You pick a product and a colour, add artwork, text or your own upload, and see it on the tee as you go. The base cost shows up straight away for different quantities.
- Set your price and promote. You choose a sales goal, an end date and a price per tee, and the flow tells you what you would make before you launch. Then you share the link and push traffic at it with Facebook ads and social.
- We produce, you profit. If the campaign hits its goal, we print the shirts, ship them to every buyer and transfer the profit. If it does not hit the goal, nobody is charged anything, so the creator is never holding stock or out of pocket.
Three steps, start to payout
- 01Design it in minutes
- 02Set your price and promote
- 03We produce, you profit
04Structuring a Stack of Tools Into One Platform
The structure had to hold three different things at once: a creator tool, a public storefront and a back office. None of them could feel bolted on. So I organised it around what people are actually trying to do, which is create a campaign, back a campaign, or manage one you have already launched.
Then I split the journey in two, so neither side has to deal with the other side's work. The raiser designs the tee, sets the price and launches. The buyer turns up from an ad or a shared link and places an order. Everything in the middle, the printing, the payments and the shipping, is handled by the platform.
05From Graybox Layouts to the Final Product
Before doing any visual design I blocked out the heaviest screens in grayscale, to settle the structure first. For each one I tried a few layouts and tested them against the job that screen had to do.
06The Design Studio: Design in the Browser, Nothing to Install
You design the tee here rather than opening design software, exporting a file and emailing it to a printer. You pick a product and a colour, then add artwork, a layout, text, an upload or a background, and watch it appear on the shirt with the cost updating as you go. It is one step inside a flow that ends with a live campaign, so there is no handing anything over to the next tool.
07Making the Money Obvious
Designing the tee is the first of three steps, followed by setting your price and adding a description. Most platforms bury the economics in that middle step, and I brought them out into the open instead. A goal slider, an end date and a price per tee all update a live figure showing the minimum you would make. The thing people most need to hear, that they pay nothing if the campaign fails, sits right next to the button.
08Running the Campaign After Launch
Once a campaign is running, the raiser needs to track orders, watch the goal, manage their account and get paid. I kept the dashboards in the same style as the studio, so going live does not feel like moving to a different product.
09What It Was, and What I Would Do Differently
Here is what the product was, who wrote about it, and who ran campaigns on it.
What I would do differently
- The Design Studio tried to offer everything at once. I would stage the controls more carefully, so a raiser gets to something they could sell in about three taps, and the more powerful options show up later.
- We designed desktop first, and most of the ad traffic came in on phones. Next time I would start with the mobile campaign flow and work up from there.
- The pricing screen was the strongest idea in the product and we never tested it. I would put the goal, price and profit screen in front of real first-time creators before anyone built it.
- Campaign pages had to sell to people who had never heard of us. That needs proper landing pages that get tested, rather than one template used for everything.
What the record shows
- India's first crowdfunding platform for t-shirts and custom apparel, out of Bangalore.
- Covered by The Hindu, Deccan Herald, DNA, YourStory and Inc42.
- Used for college tees, fan groups, artwork and social causes, with partners including CRY and the Akshaya Patra Foundation.
- Reported by press to have grown quickly through 2014 and 2015.
Thank you
Thanks for reading.
Happy to walk through any part of this in more detail, including the decisions that did not make it.